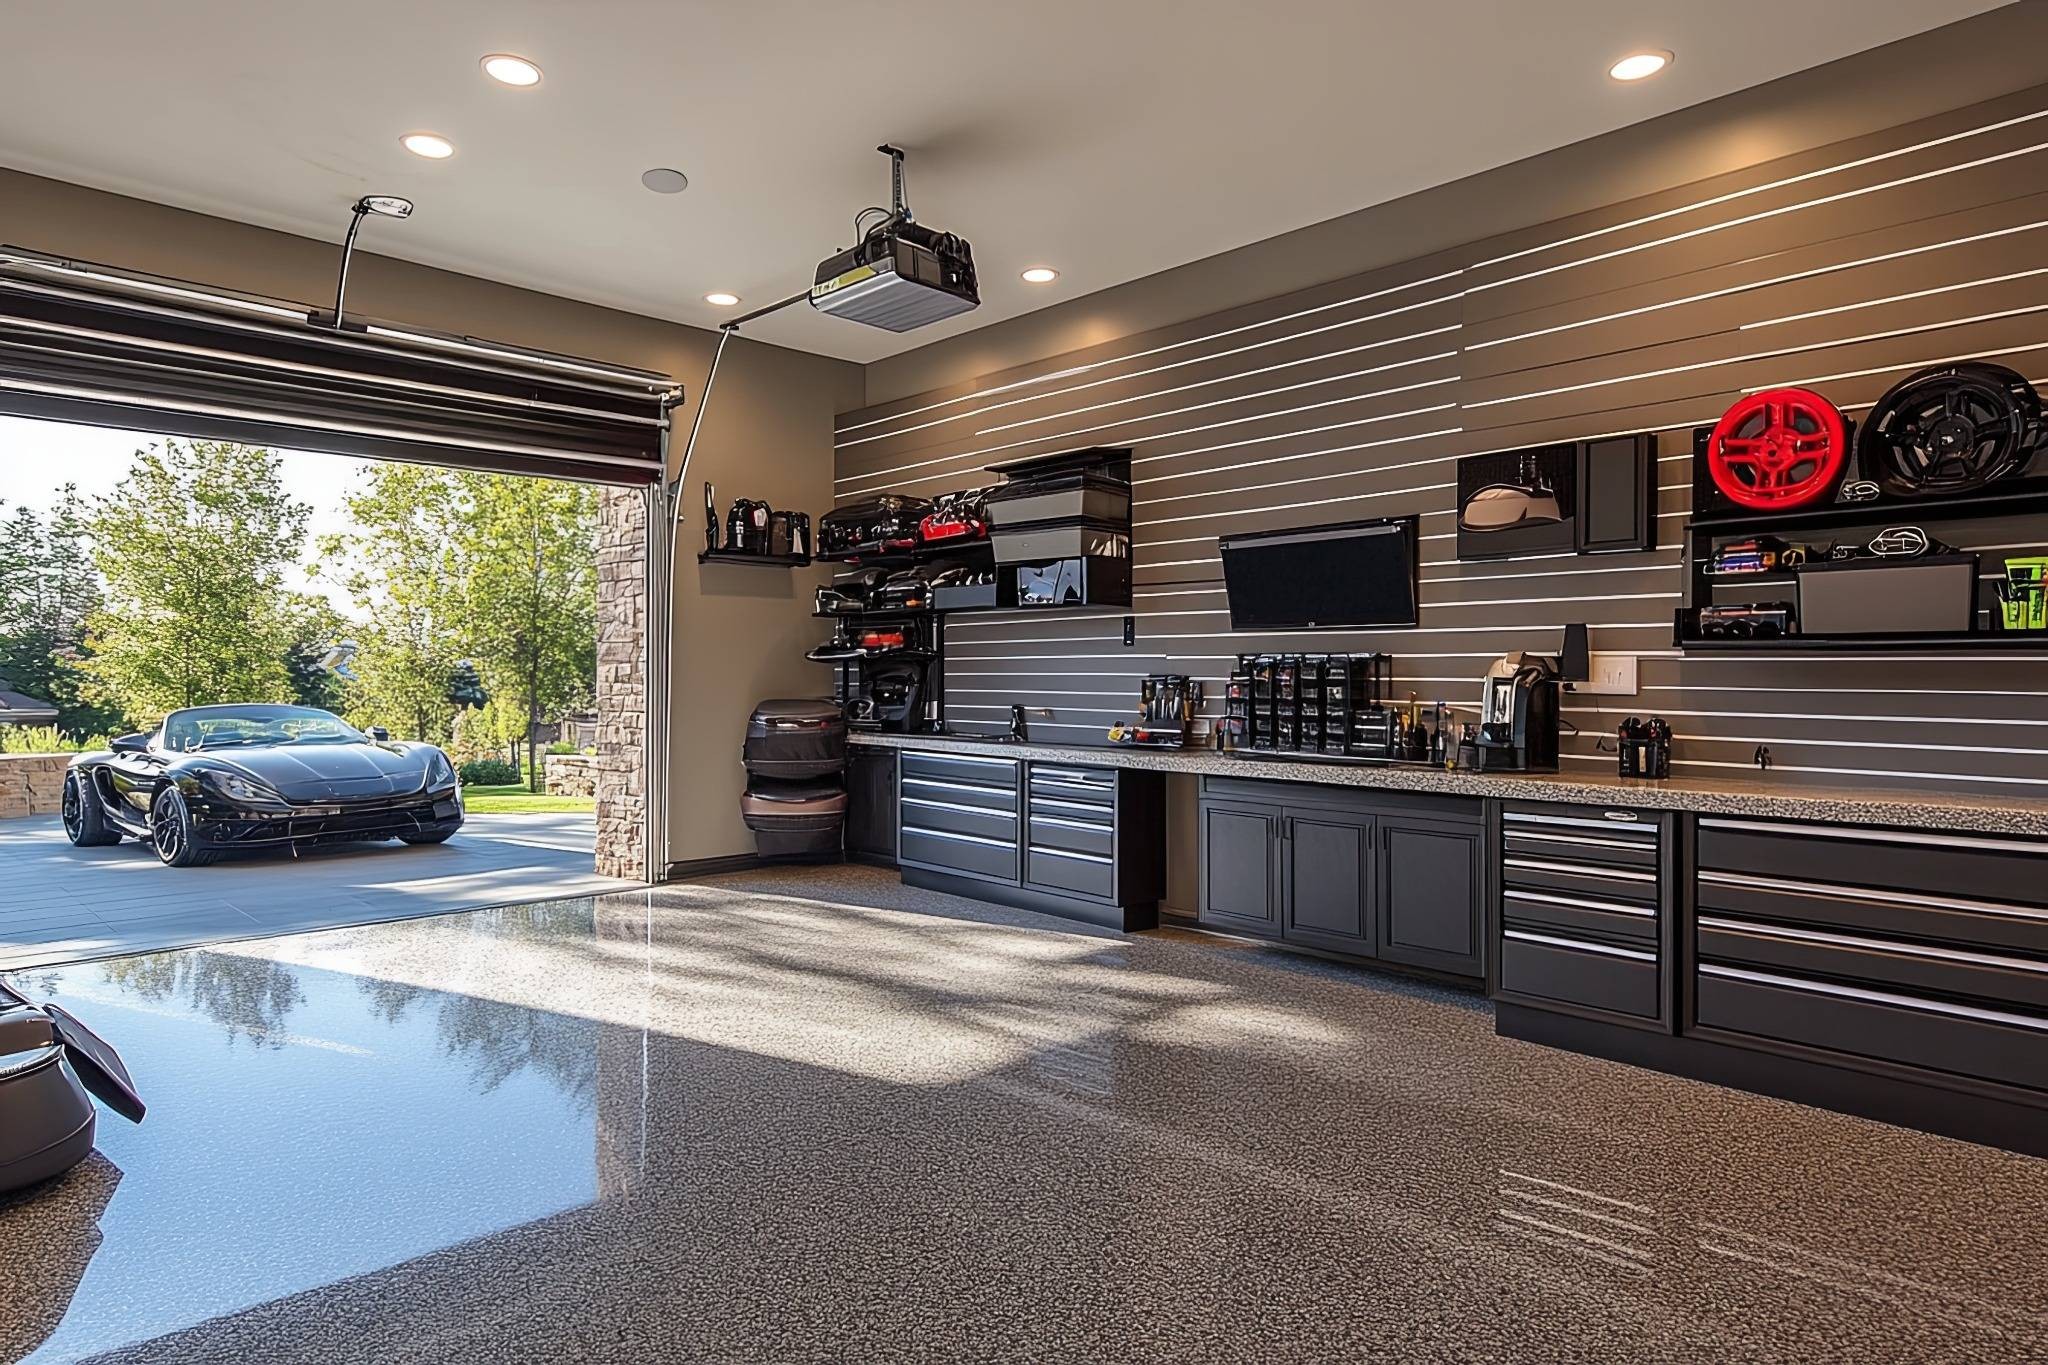
DIY epoxy garage floor kits are widely available and often marketed as an easy weekend project — just clean your garage, roll on the product, and boom: showroom shine. But if you’ve ever seen a peeling, bubbling, or flaking epoxy floor, there’s a good chance it was a DIY job gone wrong.
While epoxy coatings can be durable, beautiful, and long-lasting, they’re also very sensitive to preparation, product quality, and application technique. Even minor mistakes can lead to major headaches — and expensive repairs. If you’re thinking of tackling your garage floor yourself, consider how to avoid these seven common pitfalls.
- Skipping Moisture Testing
One of the most common — and damaging — mistakes is failing to check for moisture in the concrete before applying epoxy. Concrete is porous and can trap moisture underneath the surface. If that moisture rises after the epoxy is applied, it can cause bubbling, blistering, and eventually peeling.
- Poor Surface Preparation
Epoxy needs a perfectly clean, etched, and dry surface to bond properly. Unfortunately, many DIYers underestimate just how meticulous this prep needs to be. Skipping degreasing, pressure washing, or surface grinding can leave behind residue or smooth patches that prevent adhesion.
- Using Low-Quality Kits
Not all epoxy is created equal. Many big-box store kits contain water-based, single-coat systems that are easier to apply but far less durable. These kits may yellow over time, wear thin quickly, or fail under hot tires.
- Applying Epoxy in the Wrong Weather
Temperature and humidity play a big role in how epoxy cures. If it’s too cold, the coating may never fully harden. Too humid, and condensation can affect adhesion. Applying epoxy outside the recommended conditions can ruin the finish or cause long-term failures.
- Mixing Components Incorrectly
Epoxy coatings typically come in two parts — resin and hardener — that must be mixed in precise ratios. If the mixture is off, or if it’s not mixed thoroughly, the epoxy may not cure properly or will have inconsistent texture and finish.
- Uneven Application and Roller Marks
Applying epoxy evenly is harder than it looks. Uneven pressure, rushing the job, or using the wrong tools can leave behind roller marks, streaks, or thin spots that look unprofessional and wear quickly.
- No Topcoat or Sealer
Many DIY kits don’t include a clear topcoat, and some homeowners assume it’s optional. But without a topcoat, the epoxy is more prone to UV yellowing, scratching, and wear from cars, tools, and foot traffic.
DIY epoxy flooring can be a very rewarding upgrade to your garage and home if done right. But between surface prep, product selection, mixing, timing, and application, there are a lot of ways things can go wrong. Even just one misstep can lead to peeling, cracking, or discoloration, which often costs more to fix than a professional installation would have in the first place.
If you’re set on doing it yourself, be prepared to put in the time, research, and elbow grease required for success. Otherwise, hiring a professional installer, like Hovan The Epoxy Floor Man, might not only save you stress — it could actually save you money.
And when done properly, an epoxy floor can give your garage or basement a clean, bright, and durable surface that looks fantastic for years to come.
Ready to Upgrade Your Floor?
If you live in the Lehigh Valley and you’re ready for a floor that looks great and works hard, Hovan the Epoxy Floor Man is here to help. Call us today at: 610-966-8262 or fill out our contact form below to request a free estimate.


